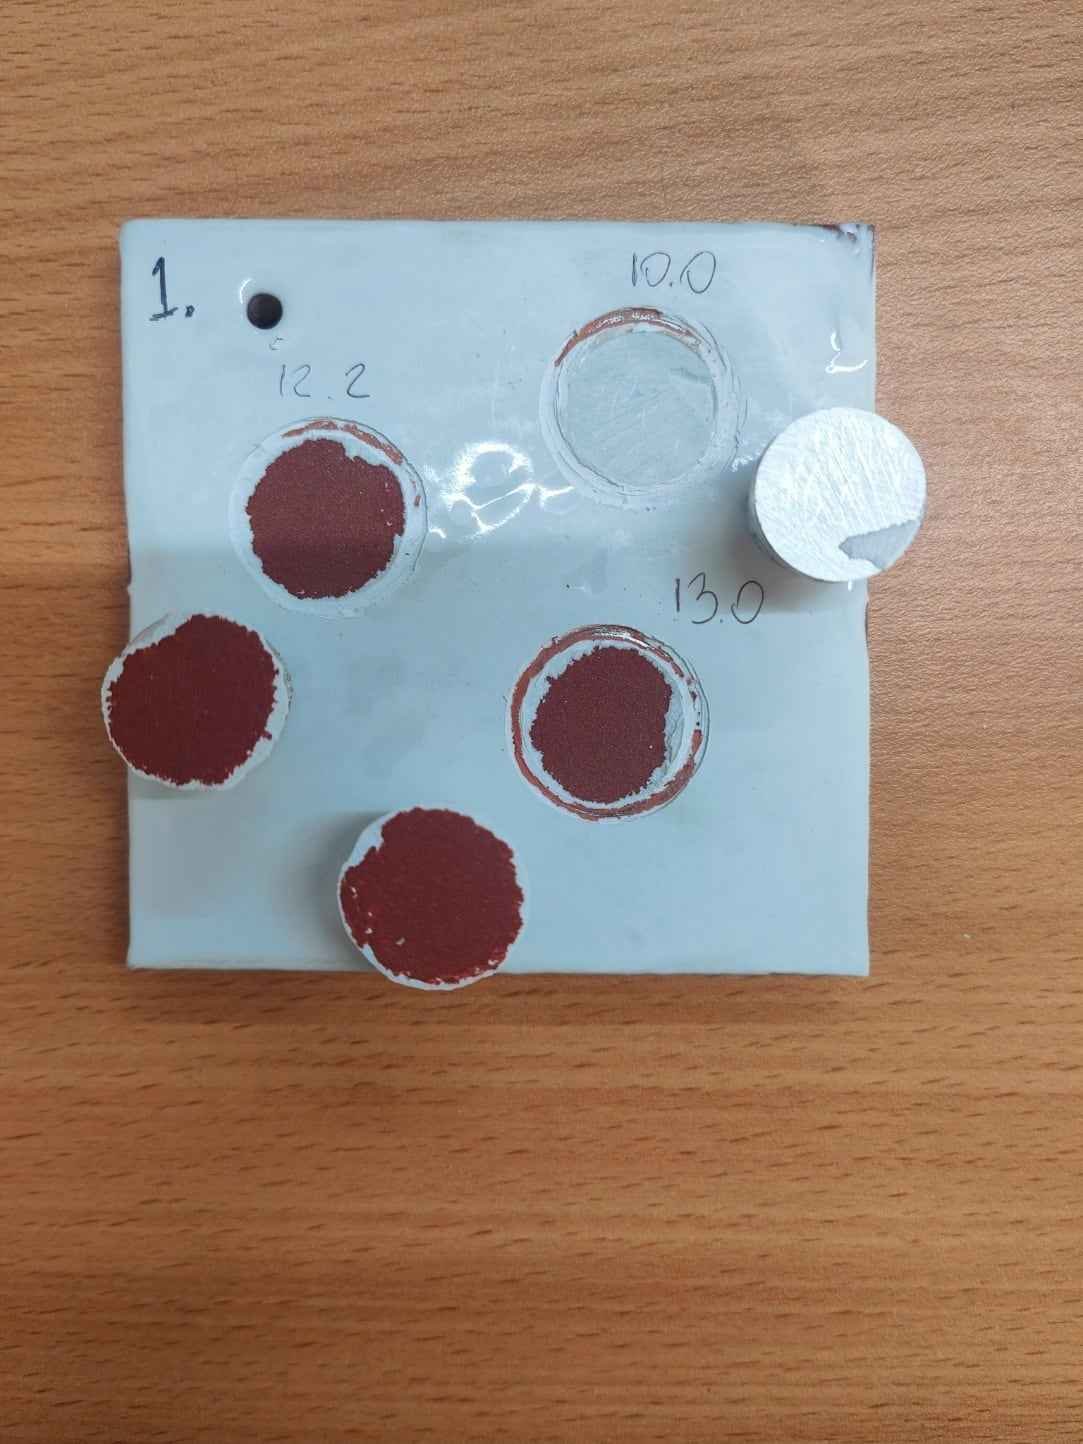
When a coating fails early, the first question is usually “what was wrong with the paint?” In our experience, the paint is rarely the root cause. Far more often, the failure was decided before the first coat was mixed.
1. Design and fabrication
Coatings struggle on sharp edges, rough welds, weld spatter, crevices and areas nobody can reach with a spray gun. Paint pulls thin over a sharp edge, and an unsealed crevice traps moisture. ISO 12944 Part 3 covers designing for protection, and simple fabrication details such as rounding edges and grinding welds make a measurable difference.
What to check: agree acceptance criteria for edges, welds and surface defects before the steel goes to the blast room, not after it is painted.
2. Surface preparation
The preparation grade, the profile and the cleanliness of the surface decide how well the coating grips. A surface can meet Sa 2½ visually and still carry dust, the wrong profile or invisible salts.
What to check: preparation grade, profile, dust and soluble salts at a hold point before priming.
3. Conditions at application
Painting onto steel that is too close to the dew point leaves an invisible film of moisture between steel and coating. Cold slows cure; heat can cause solvent problems and dry spray.
What to check: air and steel temperature, humidity and dew point, recorded throughout the shift. Try our dew point calculator.
4. Timing between coats
Every product has a minimum and maximum overcoating time. Too soon and solvent is trapped; too late and the next coat may not bond.
What to check: the data sheet, the actual times and whether abrading is needed when the window has passed.
The pattern
Look at those four stages and you will notice something: none of them is visible once the coating is finished. That is why inspection at the right hold points is worth far more than a final check, and why so many investigations end with the same conclusion.
If you are dealing with a coating that has failed and want to know why, talk to us about a failure investigation.